Let’snote CF-S10のストレージをSSD化してみた
2019年7月12日
うおおおおおおおおおおおおおおおおお(電車で新宿へ向かう)

うおおおおおおおおおおおおおおおお(新宿駅到着)
うおおおおおおおおおおおおおおおおお(ツクモ新宿西口店)
何が大当たりやねん

うおおおおおおおおおおおおおおおおおおおおお

うおおおおおおおおおおおおおおおおおおお
SSDを買った
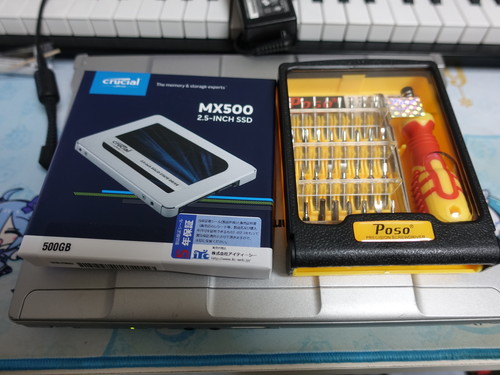
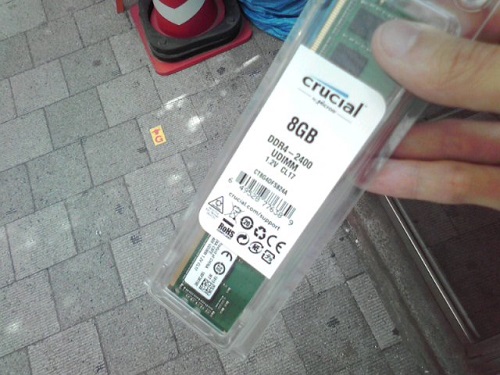
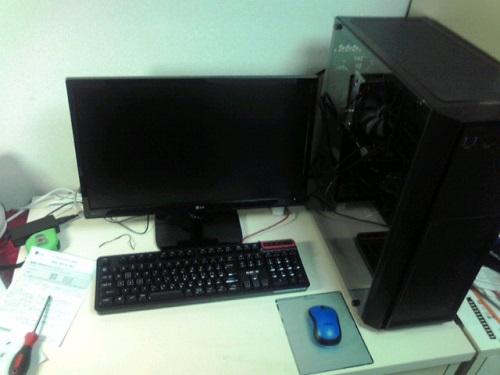
というわけで、現在使っているノートPCであるLet’snote CF-S10をSSD換装すべく新西ツクモでcrucialのMX500(500GB)を購入しました。
来春にVAIO SX14に乗り換える予定なのですが、それまでの繋ぎとして超型落ちPCを少しでもスペックアップしておきたかった所存。
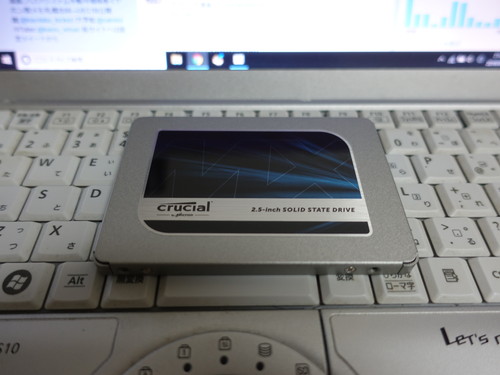
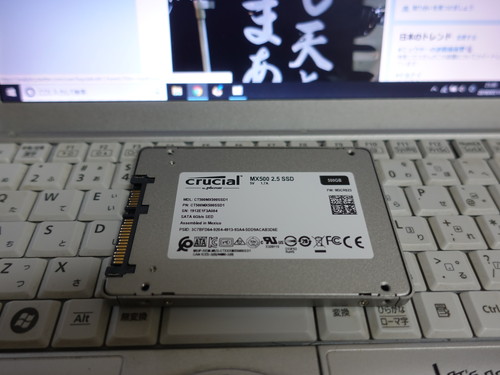
SSDの見た目はこんな感じ。
なんの変哲もない2.5インチSSDですね。
HDDのデータをSSDに移行
まずは今入ってるHDDのデータを

このSSDに移す作業です。
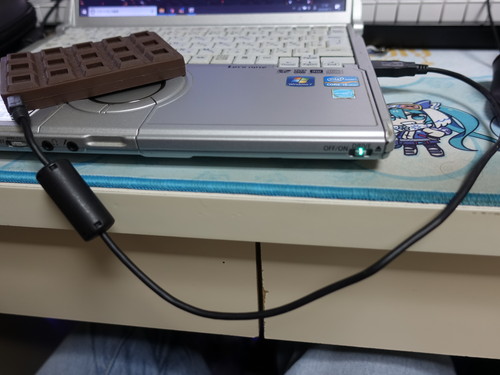
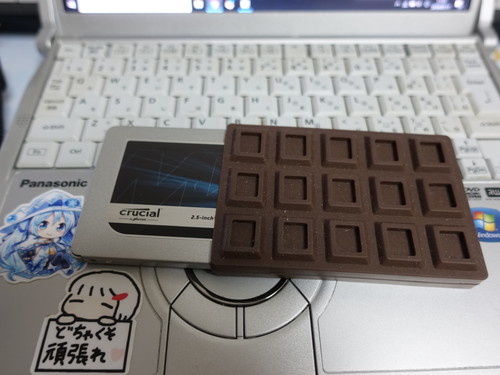
実家から板チョコ型SATA-USB変換器を持って来ておいて助かりました。
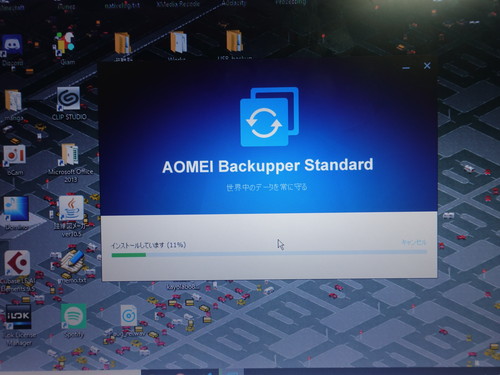
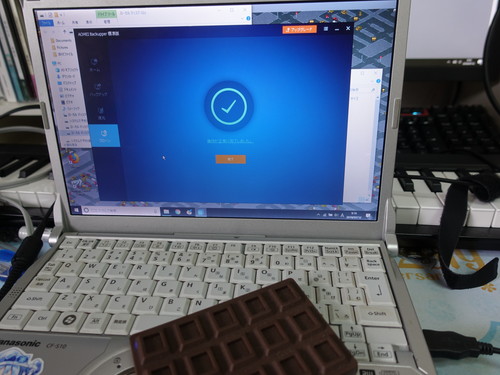
HDDからSSDへデータを移す(「クローン」と言うらしいです)ために使ったバックアップソフトが「AOMEI Backupper Standard」というフリーソフトです。(同じくフリーソフトの「EaseUS Todo Backup」が有名ですが、私の環境ではうまくいかなかったので割愛。)
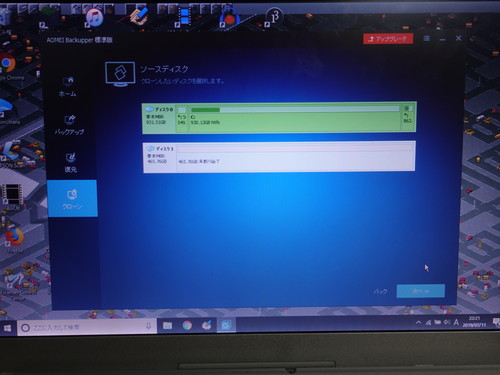
ソースディスクにHDDを指定して
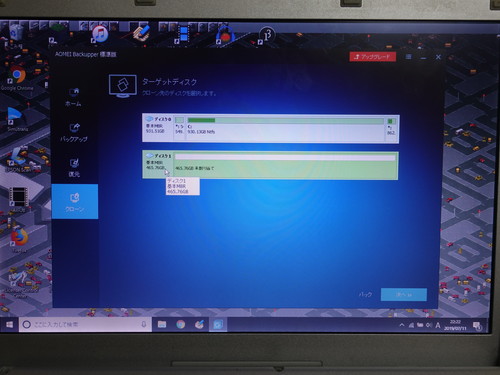
ターゲットディスクにSSDを指定します。
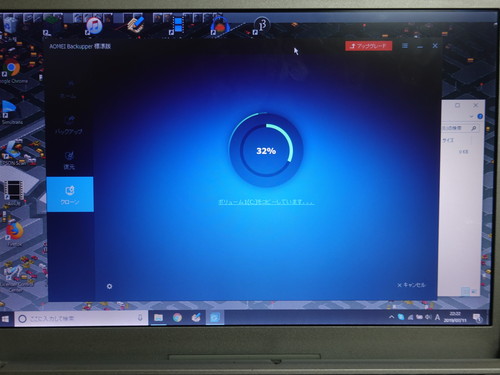
クローン作成が始まりました。
というわけで終わるまでスヤァします( ˘ω˘)
翌朝起きたら、無事クローン作成が終わっていました。
SSD換装
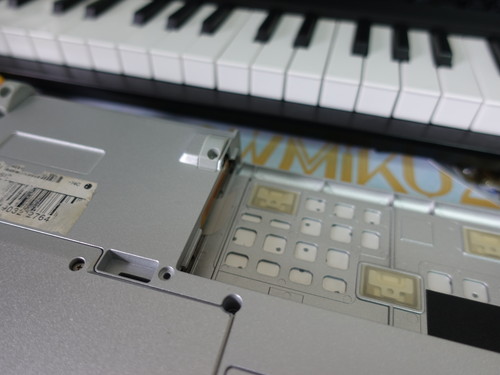
では、ついに解体の儀です。
と言ってもLet’snote CF-S10の場合のストレージ交換は非常に簡単で
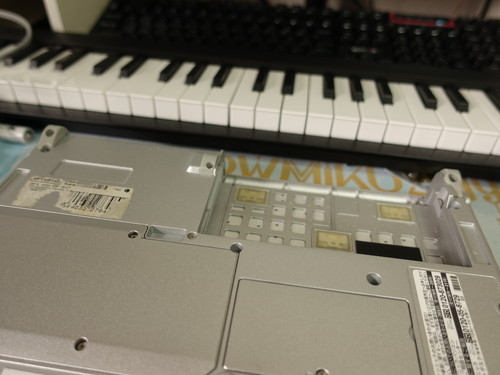
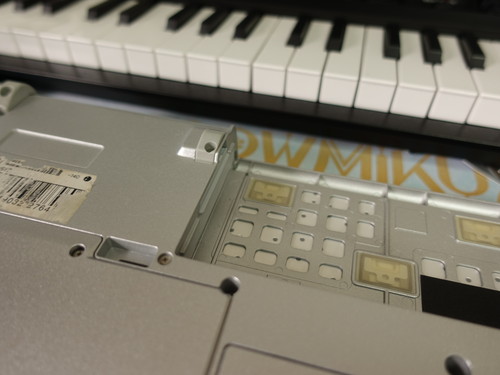
バッテリー外した横のこのフタを開けるだけです。
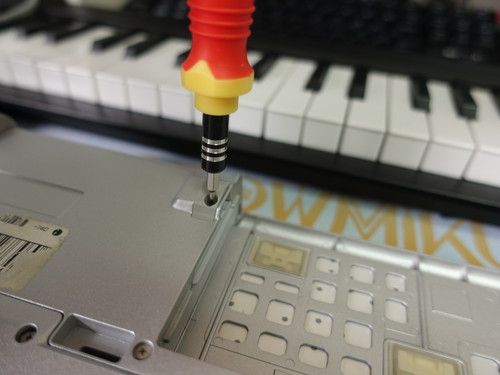
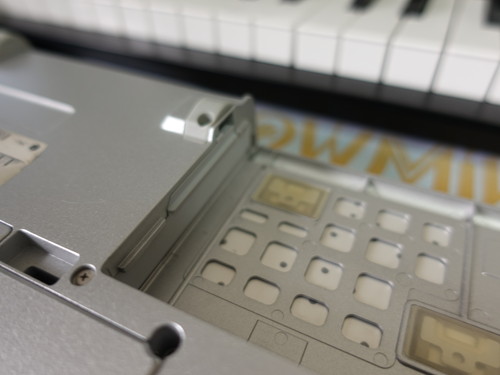
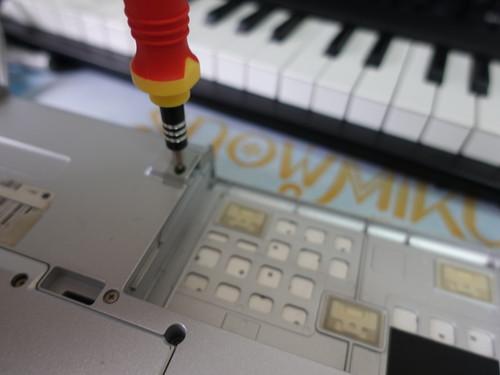
フタを外すのも簡単で、ここのネジと
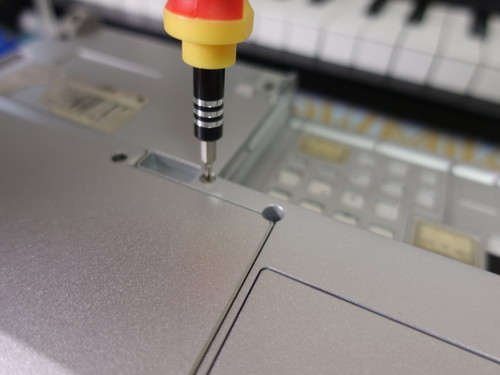
ここのネジを外すだけです。
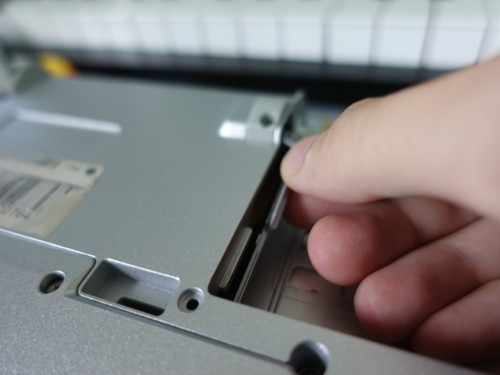
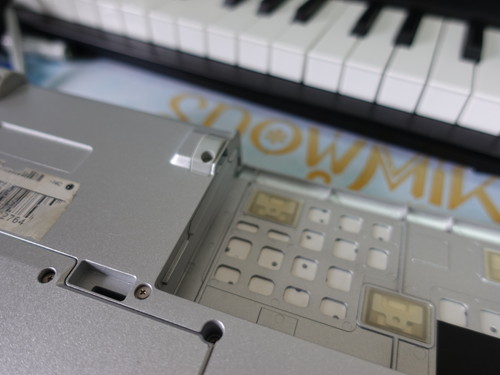
お邪魔しまーーす

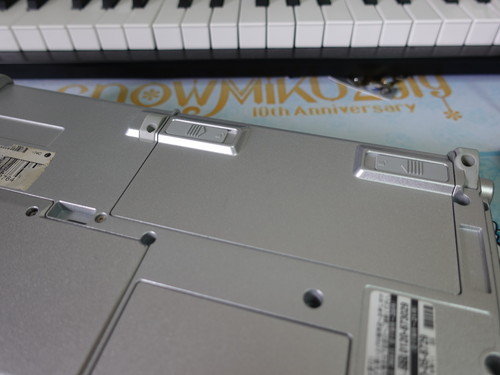
フタが外れました。
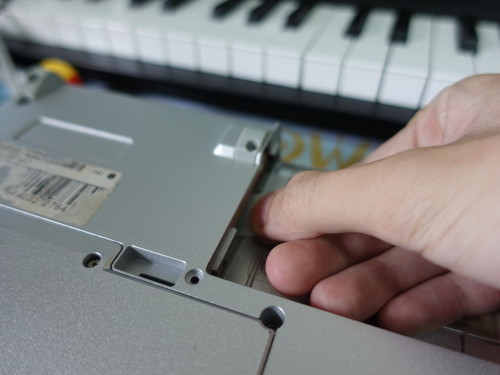
元々のHDDを外すのも、ここのベロをつまんで
引っ張るだけです。
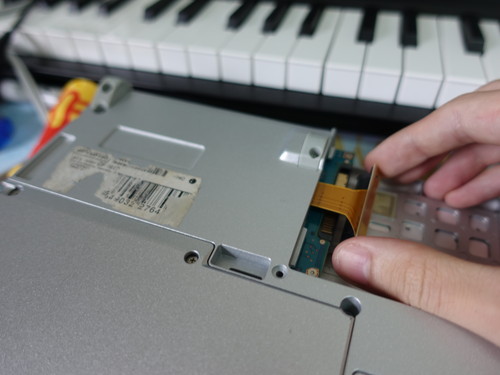
コネクタを忘れずに外しましょう。
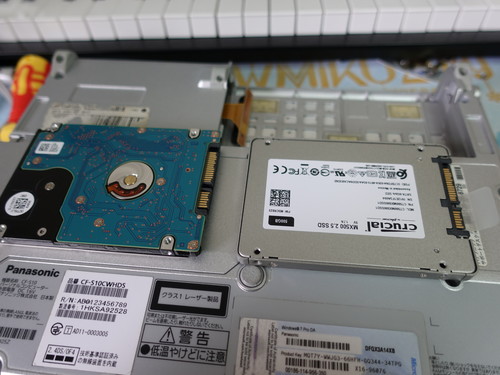
HDDを外したので、これから入れるSSDと並べてみました。
今後のことも考えて、ベロはちゃんとSSDに貼り付け直しておきました。
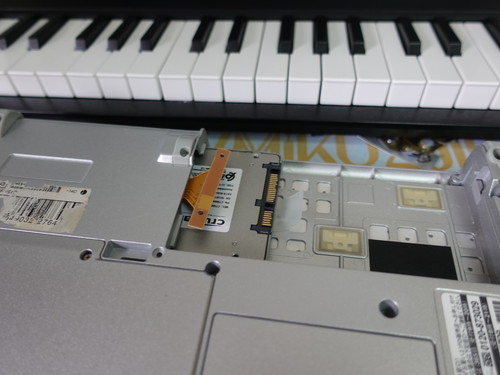
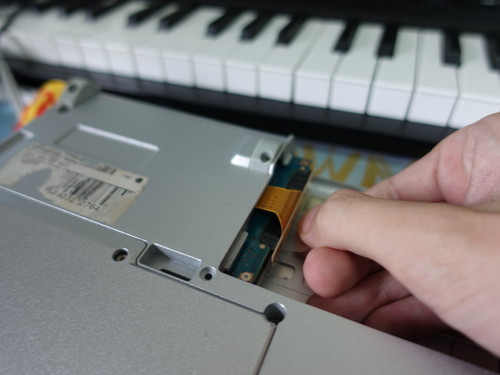
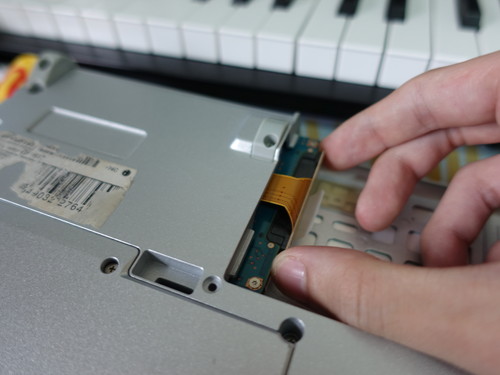
というわけでSSDを挿していきます。
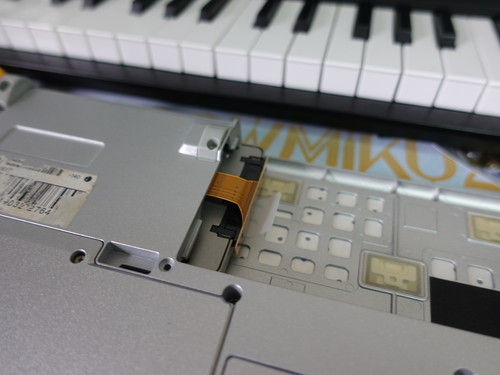
コネクターを忘れず装着して
押し込み。
あとはフタを装着して
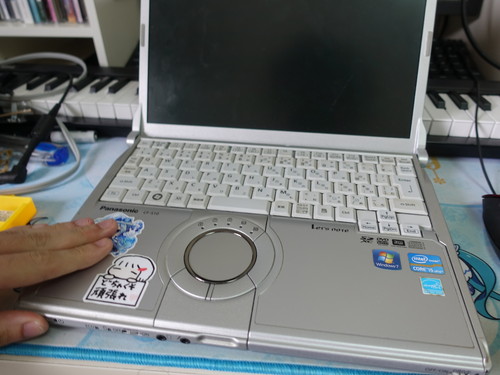
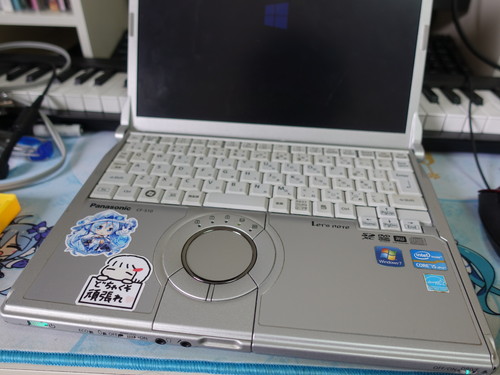
SSD換装完了!!!
起動チェック
運命の起動チェック。
ドキドキ…
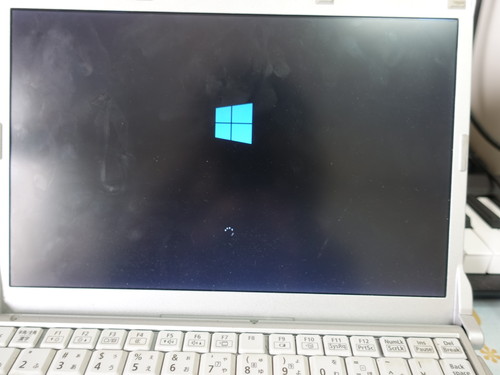
お!!
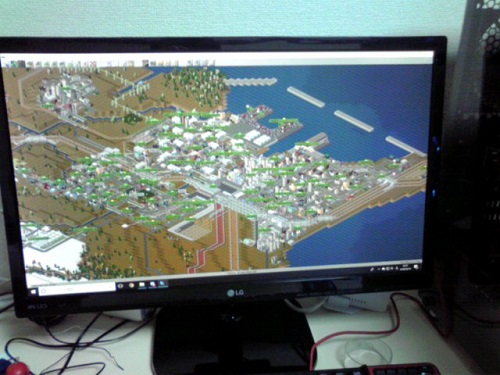
特に問題なく起動!!
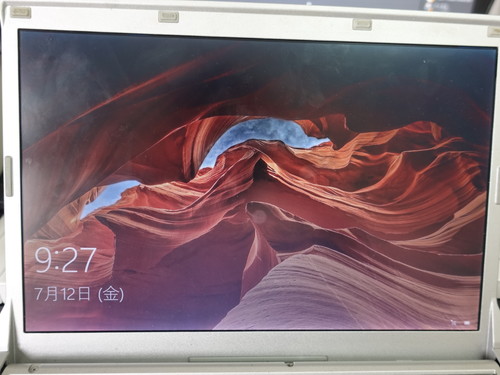
そして起動が早い!!!!
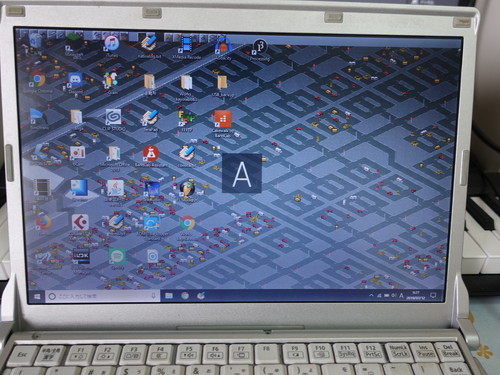
おお~~~~~~~~
というわけで、無事骨董Let’snoteのSSD換装に成功しました。
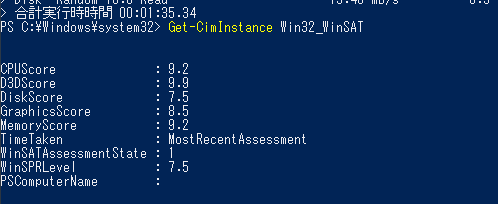
ソフトの動作がかなり軽くなったり動画再生のカクつきが無くなったりと、明らかに性能が上がった体感がありました。(元が低スぺ過ぎたわけでありますが)
あと1年弱使い倒すには十分なスペックになってくれたかな、と思います。
以上。いえーい。